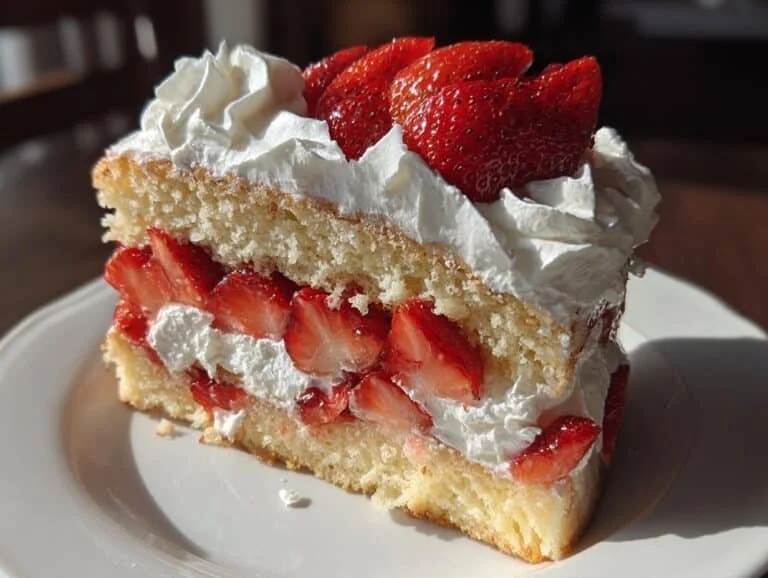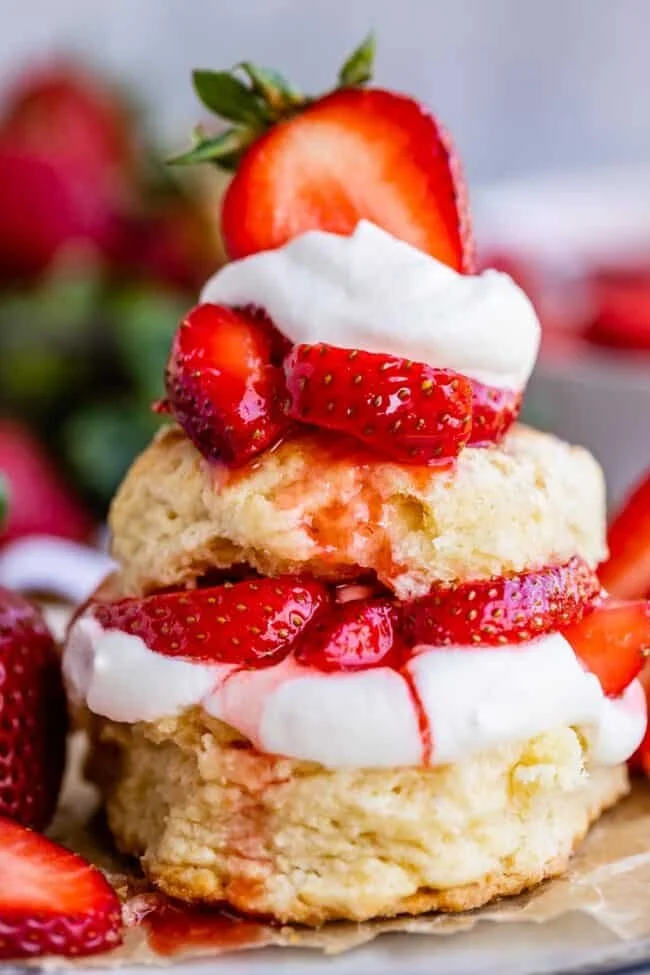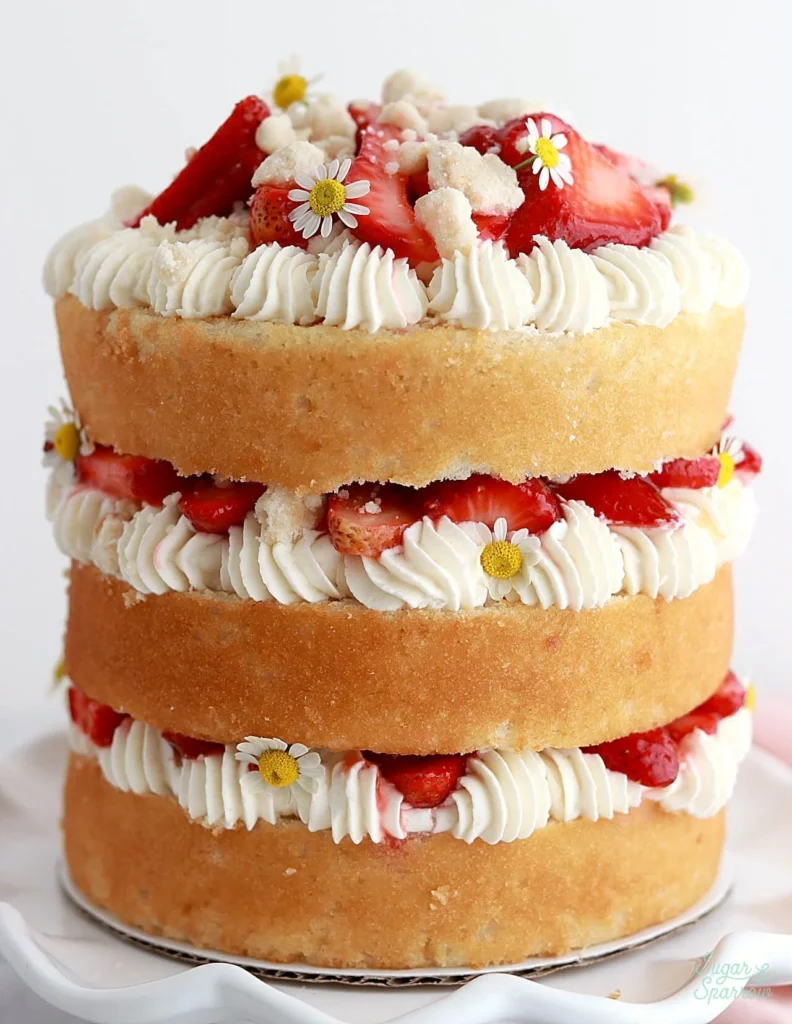
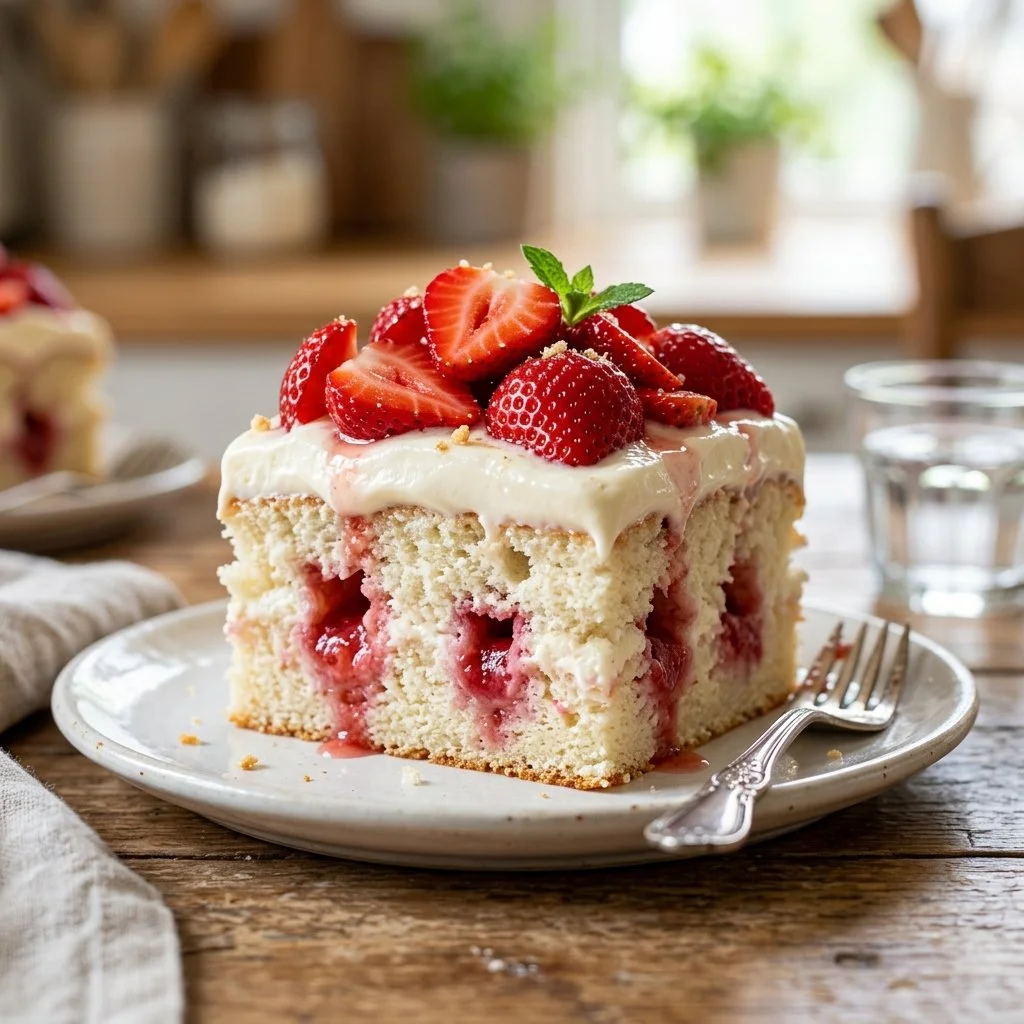
Every summer, when the sun starts to shine a little brighter and the days grow longer, my mind drifts to memories of backyard gatherings filled with laughter, the smell of BBQ on the grill, and the sweet fragrance of ripe strawberries. It was during one of these golden afternoons that I first encountered the magical Strawberry Poke Cake, a dessert that encapsulates the warmth and joy of summer in every bite. My cherished Aunt Clara brought this delightful treat to the table, and it quickly became a staple at our family celebrations. The way the cake soaks up the vibrant strawberry Jell-O filling makes every slice an irresistible treat, and it’s just the kind of dessert that brings a smile to your face.
Imagine serving this to your loved ones, the delightful surprise as they cut into the cake, revealing the vibrant pink peek of Jell-O soaking through every moist layer. Trust me, once you bring this beauty to the table, it’ll become a cherished addition to your own recipe repertoire.
Recipe Timing
- Prep Duration: 15 Minutes
- Active Cooking: 30 Minutes
- Total Duration: 2 Hours 45 Minutes (including refrigeration time)
- Portion Size: Serves 12
- Complexity: Simple
Nutritional Recipe
- Calories per portion: Approximately 220
- Protein: 2g per serving
- Carbs: 30g per serving
- Fats: 9g per serving
- Fiber: 0g per serving
- Sugars: 18g per serving
- Sodium: 170mg per serving
Why You’ll Love This Strawberry Poke Cake
One of the many reasons this Strawberry Poke Cake is so beloved is its delightful ease of preparation. With minimal fuss and a handful of straightforward ingredients, anyone—whether a kitchen novice or a seasoned pro—can whip it up. The combination of flavors is nothing short of heavenly; the light, fluffy yellow cake contrasts beautifully with the tartness of the strawberries and the sweetness of the Jell-O. Topped with a cool, fluffy layer of whipped topping and garnished with fresh strawberries, it’s like a celebration on a plate!
The Complete Cooking Journey
Let’s embark on this fun culinary adventure together. From mixing the batter to pouring the luscious Jell-O and spreading the fluffy topping, each step of the process is a little joy in itself. So grab your apron and let’s make some memories!
Ingredients:
- 1 box of yellow cake mix
- 3 large eggs
- 1 cup of water
- 1 cup of strawberries (sliced)
- 1 cup of strawberry Jell-O
- 1 cup of boiling water
- 1 cup of whipped topping
- Fresh strawberries for garnish
Method:
Step 1: Preheat the Oven
Preheat the oven to 350°F (175°C). Grease and flour a 9×13 inch baking dish to ensure an easy release after baking.
Step 2: Mixing the Batter
In a bowl, mix the cake mix, eggs, and water according to the package instructions. Pour the batter into the prepared baking dish, smoothing it out evenly.
Step 3: Baking the Cake
Bake for 25-30 minutes, or until a toothpick inserted in the center comes out clean. Your kitchen should smell heavenly by now!
Step 4: Cooling Briefly
Allow the cake to cool for 10 minutes in the baking dish. This is a crucial moment where the aroma fills the air, teasing everyone’s tastebuds.
Step 5: Preparing the Jell-O Mixture
In a separate bowl, dissolve the strawberry Jell-O in 1 cup of boiling water. Stir until fully dissolved, then let it cool slightly.
Step 6: Creating the Poke Holes
Poke holes in the top of the warm cake with a fork. This is a fun step and allows all that yummy Jell-O to seep deeply into the cake.
Step 7: Infusing with Flavor
Pour the Jell-O mixture over the cake, ensuring it seeps into the holes you’ve made, infusing each bite with that vibrant strawberry flavor.
Step 8: Refrigeration
Refrigerate the cake for at least 2 hours to set. This step is essential for the flavors to meld and the cake to hold its shape.
Step 9: Topping It Off
Once set, spread the whipped topping over the cake generously and garnish it with fresh strawberries. Slice it up, serve, and enjoy the delightful reactions!
Serving Suggestions & Pairings
This Strawberry Poke Cake shines on its own but pairs beautifully with a scoop of vanilla ice cream or a dollop of fresh whipped cream. It’s an ideal dessert for summer BBQs, birthday parties, or any gathering where you want to impress.
Storage & Leftovers Guide
Cover any leftover cake with plastic wrap or a fitting lid, and store it in the fridge for up to 3 days. It’s excellent cold, but if you prefer it fresh, try to finish it within the first couple of days!
Kitchen Wisdom & Success Tips
- Make sure to poke enough holes in the cake for the Jell-O to absorb—this ensures every bite is packed with flavor.
- If you want to get creative, try using other Jell-O flavors, like raspberry or lemon, which will give a unique twist to the cake.
- Always let your cake cool adequately before adding the Jell-O!
Flavor Variations & Adaptations
Feel free to experiment! Add diced fresh strawberries or even blueberries to the batter for an extra fruity burst. For a more sophisticated take, consider using a splash of liqueur in the Jell-O for a grown-up version.
Reader Questions & Solutions
-
Why is my cake sinking in the middle? – This is often due to underbaking or too much liquid. Make sure to bake until a toothpick comes clean!
-
Can I use sugar-free Jell-O? – Absolutely! You can use sugar-free alternatives for a lighter version.
-
How long does this cake keep? – It’s best eaten within a few days but can be kept in the fridge for up to a week—if it lasts that long!
-
Can I freeze this cake? – Yes! Freeze before adding whipped topping, and it’ll keep for about 2 months.
-
What if my Jell-O doesn’t set? – Make sure the boiling water ratio is correct, and let it cool before pouring it onto the warm cake.
Wrapping Up
This Strawberry Poke Cake is not just a dessert; it’s a joyful experience that brings people together, much like my cherished summer gatherings of the past. With its vibrant flavors and simple preparation, it’s bound to become a staple in your kitchen, too. So what are you waiting for? Gather those ingredients, invite some friends over, and let the sweet memories begin! Happy baking!
PrintStrawberry Poke Cake
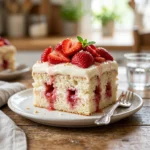
A delightful and easy-to-make Strawberry Poke Cake that perfects the classic summer dessert, soaking vibrant strawberry Jell-O into fluffy yellow cake for a delicious treat.
- Prep Time: 15 minutes
- Cook Time: 30 minutes
- Total Time: 165 minutes
- Yield: 12 servings 1x
- Category: Dessert
- Method: Baking
- Cuisine: American
- Diet: Vegetarian
Ingredients
- 1 box of yellow cake mix
- 3 large eggs
- 1 cup of water
- 1 cup of strawberries (sliced)
- 1 cup of strawberry Jell-O
- 1 cup of boiling water
- 1 cup of whipped topping
- Fresh strawberries for garnish
Instructions
- Preheat the oven to 350°F (175°C). Grease and flour a 9 x 13 inch baking dish.
- Mix the cake mix, eggs, and water according to the package instructions. Pour the batter into the prepared baking dish.
- Bake for 25-30 minutes, or until a toothpick inserted in the center comes out clean.
- Allow the cake to cool for 10 minutes in the baking dish.
- Dissolve the strawberry Jell-O in 1 cup of boiling water. Stir until fully dissolved, then let it cool slightly.
- Poke holes in the top of the warm cake with a fork.
- Pour the Jell-O mixture over the cake, ensuring it seeps into the holes.
- Refrigerate the cake for at least 2 hours to set.
- Spread the whipped topping over the cake generously and garnish with fresh strawberries.
Notes
Poke enough holes in the cake for the Jell-O to absorb for maximum flavor.
Nutrition
- Serving Size: 1 serving
- Calories: 220
- Sugar: 18g
- Sodium: 170mg
- Fat: 9g
- Saturated Fat: 2g
- Unsaturated Fat: 3g
- Trans Fat: 0g
- Carbohydrates: 30g
- Fiber: 0g
- Protein: 2g
- Cholesterol: 40mg