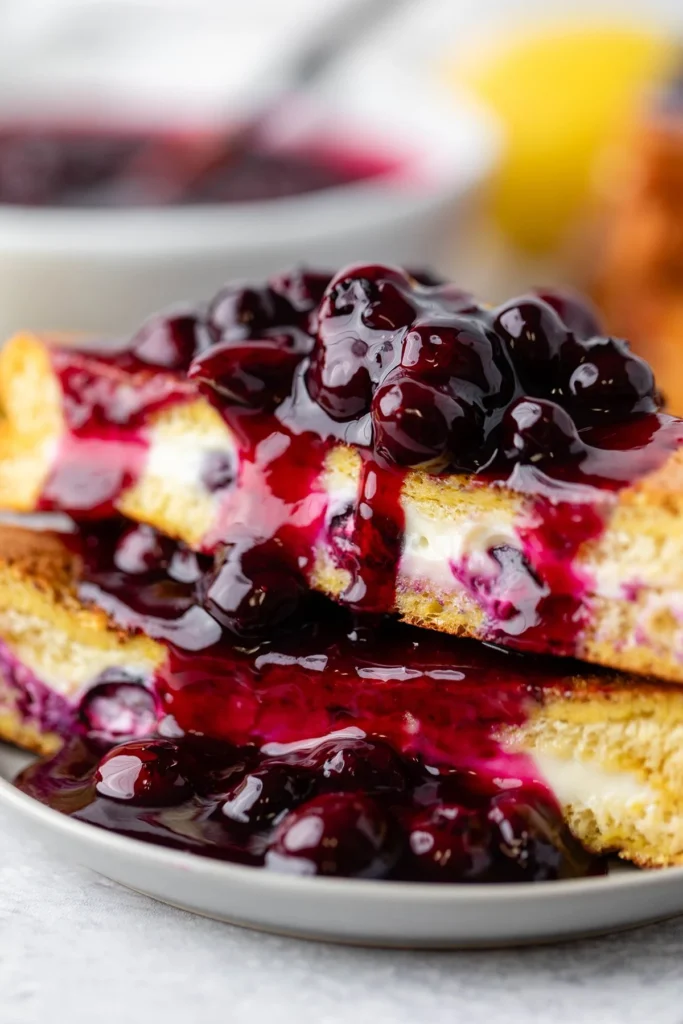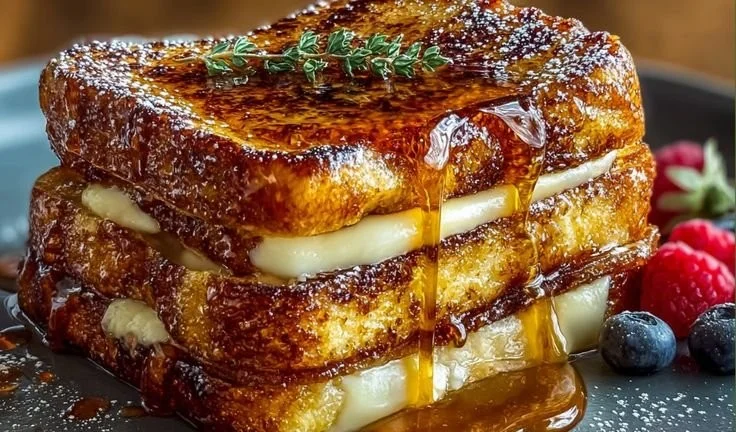

There’s something undeniably magical about a warm Belgian waffle, crisp on the outside and fluffy on the inside. The aroma of batter cooking, filling the kitchen with the promise of a delightful breakfast or brunch, makes my heart sing. It takes me back to my childhood, where weekends were a time for leisurely mornings spent around the table, the clattering of plates echoing as we eagerly loaded our waffles with fresh berries, maple syrup, and whipped cream. These moments, layered with laughter and love, shaped my passion for cooking and sharing food. Today, I’m thrilled to share my recipe for Homemade Belgian Waffles—a dish that’s as delightful to serve as it is to enjoy.
Recipe Timing
- Prep Duration: 10 minutes
- Active Cooking: 20 minutes
- Total Duration: 30 minutes
- Portion Size: Serves 4 (about 8 waffles)
- Complexity: Simple
Nutritional Recipe
- Calories per portion: Approximately 290
- Protein: 7 grams per serving
- Carbs: 36 grams per serving
- Fats: 14 grams per serving
- Fiber: 1 gram per serving
- Sugars: 2 grams per serving
- Sodium: 320 mg per serving
Why You’ll Love This Homemade Belgian Waffles
These homemade waffles are a celebration of simplicity and flavor. With their delightful crispiness and fluffy texture, they serve as the perfect base for any toppings you can dream up. Whether you crave something fruity, creamy, or sweet, these waffles are ready to hold a world of flavors. Plus, they’re easy to make, making them perfect for both quiet mornings and bustling brunch gatherings. Just picture yourself flipping a golden waffle, drizzling it with syrup, and savoring that first bite, where the warm dough softly yields to your fork. It’s pure happiness on a plate!
The Complete Cooking Journey
Making Belgian waffles is a rewarding experience that will fill your home with wonderful scents and your hearts with cheer. Follow along as we break down the steps to waffle perfection.
Ingredients:
- 2 cups all-purpose flour
- 1 tablespoon baking powder
- 1/2 teaspoon salt
- 2 tablespoons sugar
- 2 large eggs
- 1 3/4 cups milk
- 1/2 cup vegetable oil
- 1 teaspoon vanilla extract
Method:
Step 1: Preheat the Waffle Iron
Preheat the waffle iron according to the manufacturer’s instructions to ensure your waffles cook evenly and achieve that perfect golden-brown finish.
Step 2: Whisk the Dry Ingredients
In a large bowl, whisk together the flour, baking powder, salt, and sugar. This step is crucial to ensure the baking powder is evenly distributed throughout the flour for perfectly fluffy waffles.
Step 3: Combine the Wet Ingredients
In another bowl, beat the eggs, then add the milk, vegetable oil, and vanilla extract. These ingredients bring richness and flavor to your waffle batter.
Step 4: Mix the Batter
Pour the wet ingredients into the dry ingredients and mix until just combined. Be careful not to overmix! A few lumps are perfectly fine and will help to keep your waffles light and airy.
Step 5: Pour and Cook
Pour the batter into the preheated waffle iron, using a ladle or measuring cup for even portions. Cook according to the waffle iron’s instructions until the waffles are golden brown and crispy.
Step 6: Serve and Enjoy
Serve the waffles warm, adding toppings of your choice. From fresh fruits to creamy spreads, the possibilities are endless!
Serving Suggestions & Pairings
These waffles pair brilliantly with a myriad of toppings. Opt for simple maple syrup and a dollop of whipped cream for the classic combo, or go gourmet with fresh strawberries, blueberries, and a sprinkle of powdered sugar. You can also try spreadable options like cream cheese or Nutella for a rich twist. For a savory flair, pile on some crispy bacon or smoked salmon—the options are limitless!
Storage & Leftovers Guide
Leftover waffles can be stored in an airtight container in the refrigerator for up to three days. To reheat, simply pop them in the toaster for a few minutes until they’re warmed through and crispy again. Alternatively, you can freeze them for up to three months. Just make sure to separate layers with parchment paper before freezing to prevent sticking!
Kitchen Wisdom & Success Tips
- Consistency is Key: Make sure your wet ingredients are at room temperature for a smoother batter.
- Avoid Overmixing: Mix just until combined to keep your waffles fluffy.
- Test for Doneness: Each waffle iron is different. Don’t rely solely on the timer—check visually!
- Preheat Thoroughly: A well-preheated waffle iron ensures even cooking and better texture.
- Experiment with Flavors: Feel free to add spices like cinnamon or nutmeg to your batter for a subtle twist.
Flavor Variations & Adaptations
Feeling adventurous? Spice up your waffle batter by adding chocolate chips, nuts, or even mashed bananas for added flavor. If you want a healthier option, substitute half of the all-purpose flour with whole wheat flour or try almond milk for a dairy-free version.
Reader Questions & Solutions
-
What should I do if my batter is too thick?
If your batter is too thick, add a little more milk, a tablespoon at a time, until you reach your desired consistency. -
How can I prevent my waffles from sticking?
Always make sure your waffle iron is well preheated. If necessary, lightly grease it with a non-stick spray or a small amount of oil before pouring in the batter. -
Can I make the batter ahead of time?
Yes! You can make the waffle batter the night before and store it in the fridge. Just give it a good stir before using as it may thicken overnight. -
What can I do with leftover waffles?
Apart from freezing, leftover waffles can be used to make waffle sandwiches or crushed to create a unique crust for desserts like cheesecakes. -
How do I know when the waffles are done?
Look for a golden-brown color and a crisp outer layer. Most waffle irons have an indicator light that turns on when they’re ready.
Wrapping Up
There you have it—a simple yet extraordinary recipe for Homemade Belgian Waffles that can transform any day. Whether it’s a lazy Sunday brunch or a special holiday gathering, these waffles are sure to bring joy to your table. So gather your loved ones, get that waffle iron ready, and let the deliciousness unfold! Happy cooking!
PrintHomemade Belgian Waffles

Delightfully crispy and fluffy Belgian waffles, perfect for any breakfast or brunch occasion.
- Prep Time: 10 minutes
- Cook Time: 20 minutes
- Total Time: 30 minutes
- Yield: 4 servings 1x
- Category: Breakfast
- Method: Waffle Iron
- Cuisine: Belgian
- Diet: Vegetarian
Ingredients
- 2 cups all-purpose flour
- 1 tablespoon baking powder
- 1/2 teaspoon salt
- 2 tablespoons sugar
- 2 large eggs
- 1 3/4 cups milk
- 1/2 cup vegetable oil
- 1 teaspoon vanilla extract
Instructions
- Preheat the waffle iron according to the manufacturer’s instructions.
- Whisk together the flour, baking powder, salt, and sugar in a large bowl.
- Beat the eggs in another bowl, then add the milk, vegetable oil, and vanilla extract.
- Pour the wet ingredients into the dry ingredients and mix until just combined.
- Pour the batter into the preheated waffle iron and cook until golden brown and crispy.
- Serve warm with your choice of toppings.
Notes
For varied flavors, feel free to add chocolate chips or spices like cinnamon.
Nutrition
- Serving Size: 1 waffle
- Calories: 290
- Sugar: 2g
- Sodium: 320mg
- Fat: 14g
- Saturated Fat: 1.5g
- Unsaturated Fat: 12g
- Trans Fat: 0g
- Carbohydrates: 36g
- Fiber: 1g
- Protein: 7g
- Cholesterol: 50mg