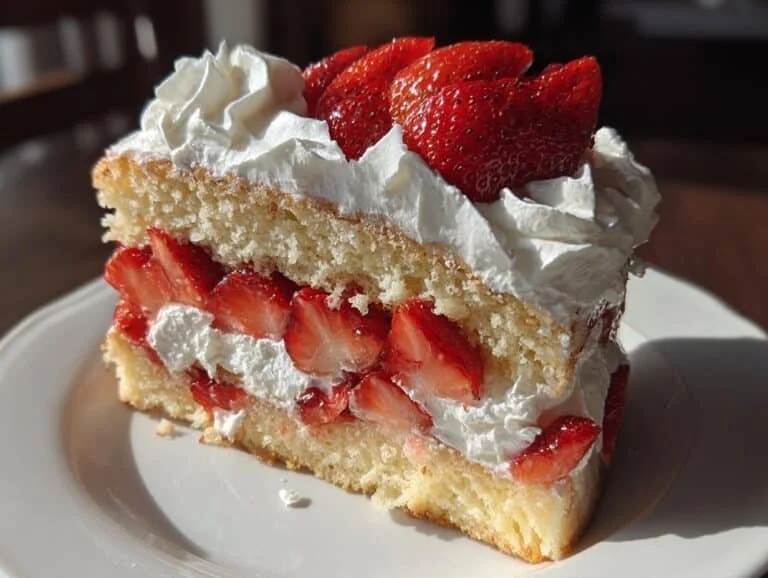
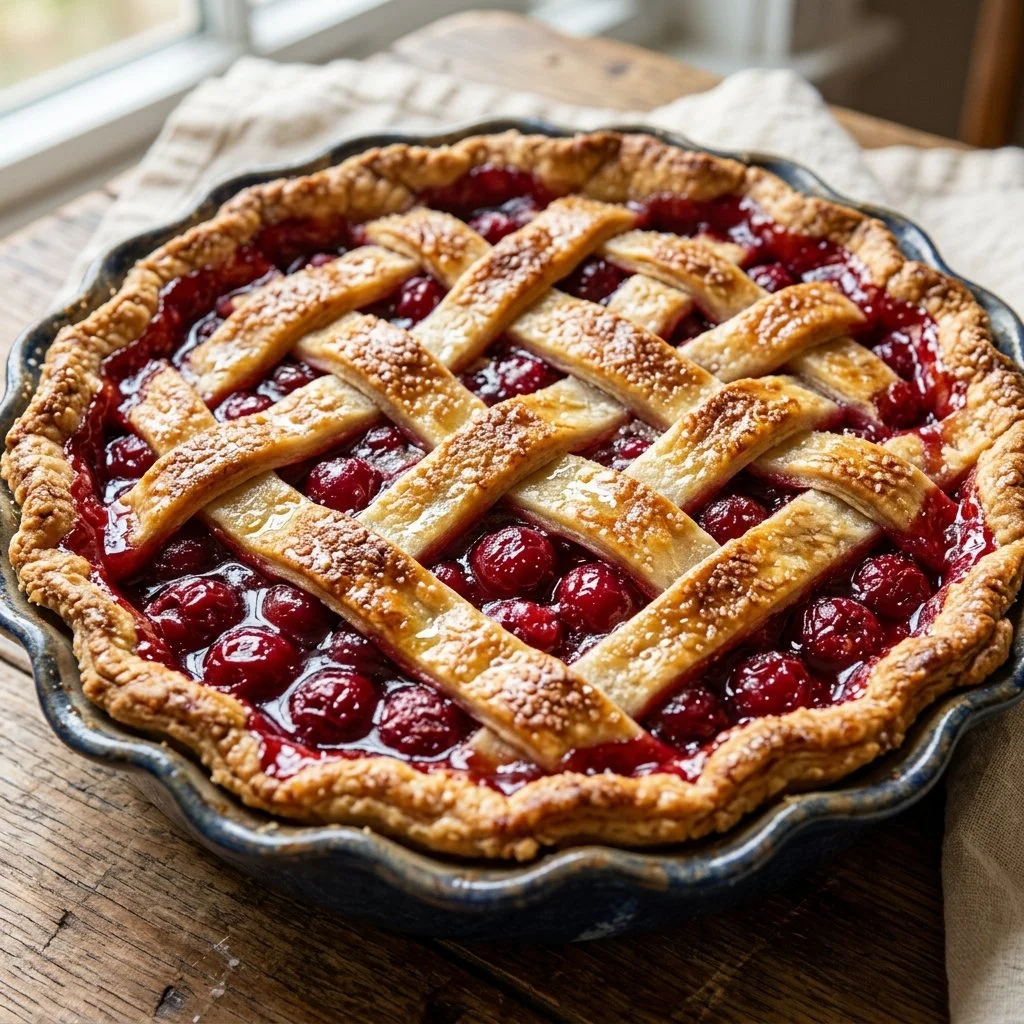
There’s a certain magic that happens when ripe cherries burst with flavor, transforming a simple pie into a feast for the senses. I remember the first time I tasted a cherry pie—sweet, tart, and undeniably comforting. It was at my grandmother’s kitchen, the air thick with nostalgia and the scent of baked goods. As she pulled that gently bubbling pie from the oven, I could hardly wait to dig in. This is the essence I strive to capture whenever I make my cherry pie. It’s not just about following steps; it’s about creating a moment to share. Today, I want to inspire you to do the same with this delightful cherry pie recipe.
Recipe Timing
- Prep Duration: 15 minutes
- Active Cooking: 40 minutes
- Total Duration: 55 minutes
- Portion Size: 8 servings
- Complexity: Simple
Nutritional Recipe
- Calories per portion: 230
- Protein: 2g
- Carbs: 36g
- Fats: 9g
- Fiber: 2g
- Sugars: 20g
- Sodium: 100mg
Why You’ll Love This Cherry Pie
This cherry pie combines the depth of flavor from fresh or frozen cherries with the sweetness of sugar and the brightness of lemon juice. Topped off with a golden, flaky crust, each slice is bursting with juicy goodness. It’s an ideal dessert for summer gatherings, holiday feasts, or simply when you crave something sweet and comforting. Plus, the kitchen will smell heavenly as it bakes—making it nearly impossible not to smile.
The Complete Cooking Journey
Baking this cherry pie is an experience that brings together simple ingredients and heartfelt tradition. Picture yourself starting with fresh cherries—if you have them—pitting them with care, or opening a bag of frozen cherries that promise summer sweetness any time of year. The following moments will fill your kitchen with a sense of warmth and creativity as you prepare the pie and gather loved ones to indulge in the final results.
Ingredients:
- 2 cups fresh or frozen cherries, pitted
- 1 cup sugar
- 3 tablespoons cornstarch
- 1 tablespoon lemon juice
- 1/4 teaspoon almond extract
- 1/4 teaspoon salt
- 1 tablespoon butter
- 1 pie crust (store-bought or homemade)
Method:
Step 1: Preheat the Oven
Preheat your oven to 425°F (220°C) to get that heat going while you prepare the filling.
Step 2: Prepare the Cherry Filling
In a medium bowl, combine the cherries, sugar, cornstarch, lemon juice, almond extract, and salt. Mix well and let it sit for 10 minutes. This resting time allows the cherries to release their delicious juices, creating a beautifully sweet filling.
Step 3: Roll Out the Pie Crust
Roll out the pie crust on a floured surface and fit it into a pie dish. Take your time here—make sure it’s evenly layered and ready to hold our luscious filling.
Step 4: Fill the Pie
Pour the cherry filling into the prepared crust and dot it with butter. The butter enhances the flavor and adds a nice richness to the filling.
Step 5: Cover and Seal the Pie
Cover with a second crust, sealing it well. Don’t forget to cut slits in the top crust for steam to escape! This is where you can get creative with designs if you’re feeling adventurous.
Step 6: Bake to Perfection
Bake in the preheated oven for 35-40 minutes or until the crust turns a golden brown. Your kitchen will smell heavenly! Allow the pie to cool before serving to let the filling set properly and enhance those flavors.
Serving Suggestions & Pairings
Serve your warm cherry pie with a scoop of vanilla ice cream or a dollop of freshly whipped cream. Not only do these toppings add a delightful creaminess, they also balance out the tartness of the cherries beautifully. For a more rustic touch, try it with a sprinkle of powdered sugar or even a side of plain yogurt for a tangy contrast.
Storage & Leftovers Guide
If you have any leftovers (which is rare in my household), store the pie covered in the refrigerator for up to 3 days. To reheat, simply pop it back in the oven for a few minutes until warmed through, or microwave individual slices for a quick treat.
Kitchen Wisdom & Success Tips
- Tip: If using frozen cherries, allow them to thaw and drain excess liquid before incorporating them into your filling to prevent a soggy crust.
- Tip: To avoid a burnt crust, consider covering the edges with aluminum foil approximately halfway through the baking process if they brown too quickly.
- Tip: Don’t rush the cooling process! Letting the pie rest allows the filling to firm up, making it easier to slice.
Flavor Variations & Adaptations
Feeling adventurous? Try mixing in other berries like blueberries or raspberries for a mixed berry pie! You can also swap the almond extract for vanilla extract for a different flavor profile or add a sprinkle of cinnamon for a warm spice note.
Reader Questions & Solutions
-
What if my pie crust shrinks while baking? – Make sure to let the crust rest in the fridge for at least 30 minutes before baking. This helps relax the gluten.
-
Can I use other fruits with this recipe? – Absolutely! Peaches, blueberries, or apples would also work well with slight adjustments in sugar levels.
-
How do I know when my pie is done? – The filling should be bubbling, and the crust should be golden brown. If the crust is browning too fast, cover it with foil.
-
What can I do if my filling comes out runny? – Next time, add a bit more cornstarch to the filling and ensure the fruit is drained if using frozen.
-
Is it okay to make this pie ahead of time? – Yes! You can prepare the cherry filling the day before, store it in the fridge, and assemble the pie right before baking.
Wrapping Up
Baking this cherry pie connects you to past moments and creates new memories to cherish. It’s a perfect blend of time-honored tradition and delicious flavor, inviting you to share it with family and friends. So gather your cherries and let your kitchen be filled with happiness and warmth. I can’t wait for you to experience the joy of making—and tasting—this cherry pie! Happy baking!
PrintCherry Pie

A delightful cherry pie with fresh or frozen cherries that bursts with flavor, topped with a flaky golden crust.
- Prep Time: 15 minutes
- Cook Time: 40 minutes
- Total Time: 55 minutes
- Yield: 8 servings 1x
- Category: Dessert
- Method: Baking
- Cuisine: American
- Diet: Vegetarian
Ingredients
- 2 cups fresh or frozen cherries, pitted
- 1 cup sugar
- 3 tablespoons cornstarch
- 1 tablespoon lemon juice
- 1/4 teaspoon almond extract
- 1/4 teaspoon salt
- 1 tablespoon butter
- 1 pie crust (store-bought or homemade)
Instructions
- Preheat your oven to 425°F (220°C).
- Combine the cherries, sugar, cornstarch, lemon juice, almond extract, and salt in a medium bowl and let it sit for 10 minutes.
- Roll out the pie crust on a floured surface and fit it into a pie dish.
- Pour the cherry filling into the prepared crust and dot with butter.
- Cover with a second crust, sealing it well and cutting slits in the top crust for steam to escape.
- Bake in the preheated oven for 35-40 minutes or until the crust turns golden brown. Allow cooling before serving.
Notes
Serve warm with ice cream or whipped cream. Store leftovers in the refrigerator for up to 3 days.
Nutrition
- Serving Size: 1 slice
- Calories: 230
- Sugar: 20g
- Sodium: 100mg
- Fat: 9g
- Saturated Fat: 4g
- Unsaturated Fat: 5g
- Trans Fat: 0g
- Carbohydrates: 36g
- Fiber: 2g
- Protein: 2g
- Cholesterol: 0mg