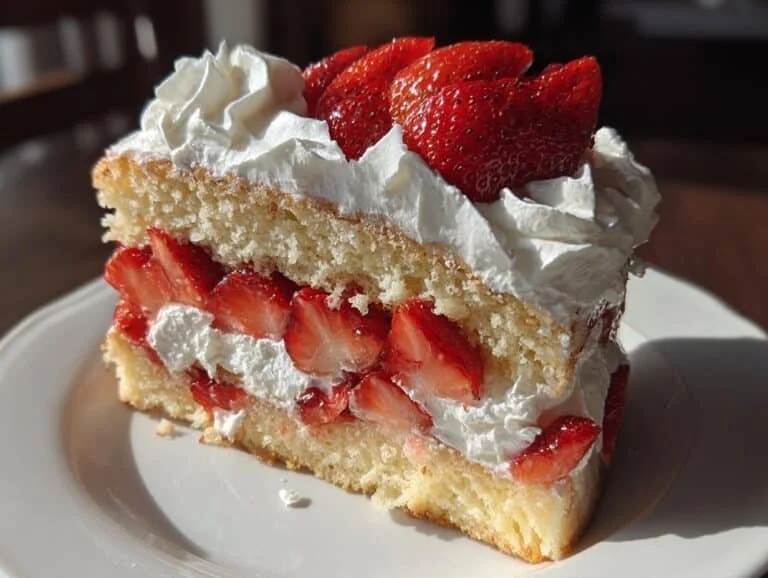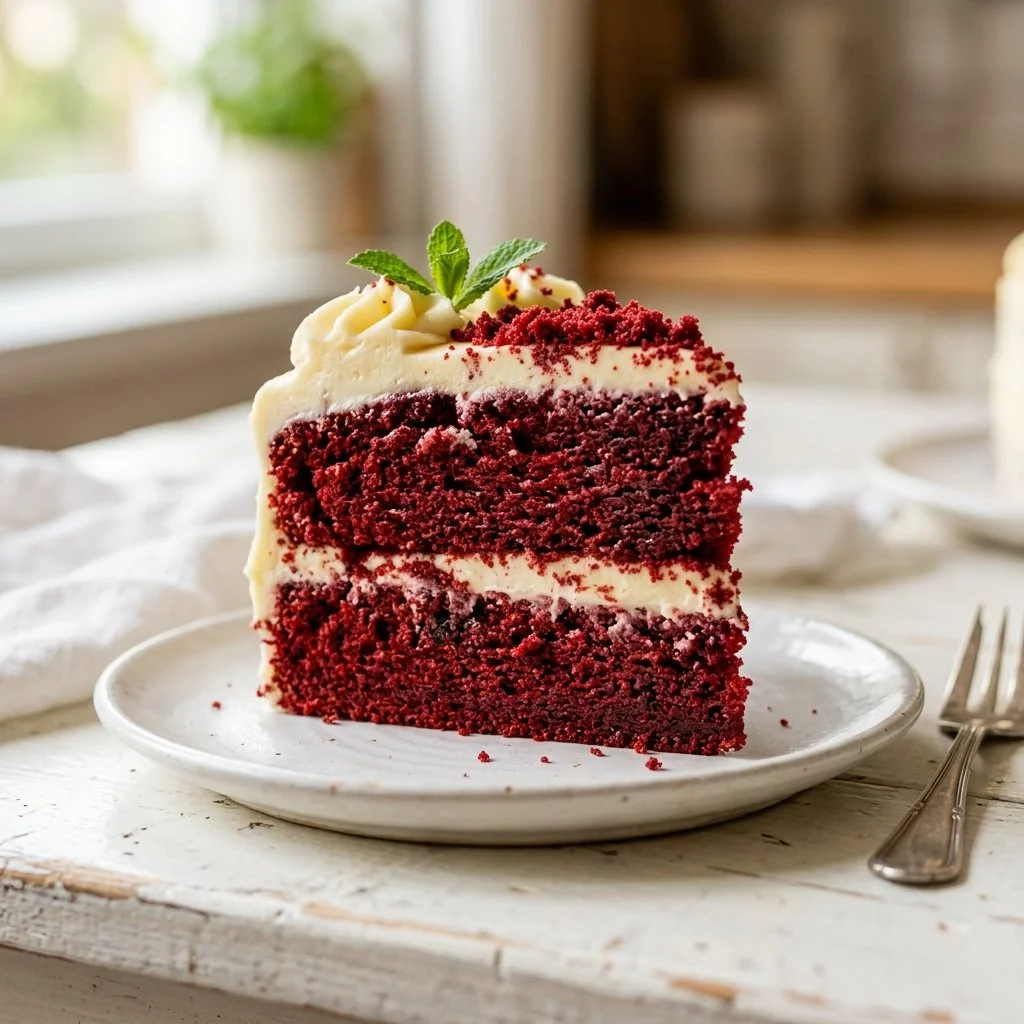
There’s something undeniably enchanting about the first slice of a red velvet cake. It’s like cutting through the purest expression of celebration; a fluffy, crimson-hued wonder that promises sweetness and nostalgia in every bite. I remember the first time I stumbled upon a red velvet cake at a family gathering. It was proudly displayed on the dessert table, a vivid statement among the more traditional desserts. With its rich colors and silky cream cheese frosting, it captured my attention instantly, and with that first bite, I was hooked. The slight tang from the buttermilk, the hint of chocolate, and the vibrant color all stirred a delightful memory of precious moments spent around family, celebrating life’s big and small milestones.
The love affair with red velvet cake is a classic, and it’s one you simply must experience yourself. Today, I’ll guide you through creating this show-stopping dessert that will surely become a centerpiece at your next gathering.
Recipe Timing
- Prep Duration: 20 minutes
- Active Cooking: 30 minutes
- Total Duration: 50 minutes
- Portion Size: Serves 12
- Complexity: Simple
Nutritional Recipe
- Calories per portion: Approximately 400
- Protein: 3g
- Carbs: 49g
- Fats: 22g
- Fiber: 0.5g
- Sugars: 29g
- Sodium: 350mg
Why You’ll Love This Red Velvet Cake
What sets this red velvet cake apart is its beautiful contrast of flavors and textures. The moist, luscious crumb is perfectly balanced by the creamy tang of the frosting. It’s a dessert that doesn’t just look good but tastes even better. Every bite is a celebration of softness and a mild chocolate flavor that dances on your palate. Plus, the bright red hue adds an irresistible charm that makes it perfect for any occasion—birthdays, anniversaries, or simply to brighten a gloomy day.
The Complete Cooking Journey
Creating this red velvet cake is not just about following steps; it’s about enjoying the process of mixing, baking, and frosting. It’s an opportunity to unleash your creativity in the kitchen and indulge in the sweet rewards at the end. So, roll up your sleeves, let’s make some cake magic together!
Ingredients:
- 2 1/2 cups all-purpose flour
- 1 1/2 cups sugar
- 1 teaspoon baking soda
- 1 teaspoon salt
- 1 teaspoon cocoa powder
- 1 1/2 cups vegetable oil
- 1 cup buttermilk, room temperature
- 2 large eggs, room temperature
- 2 tablespoons red food coloring
- 1 teaspoon vanilla extract
- 1 teaspoon white vinegar
Method:
Step 1: Preheat Your Oven
Preheat the oven to 350°F (175°C). Grease and flour two round cake pans generously to ensure your cakes come out easily after baking.
Step 2: Combine Dry Ingredients
In a large bowl, sift together the flour, sugar, baking soda, salt, and cocoa powder. Sifting is key here; it aerates the flour and helps avoid lumps, ensuring a smooth batter.
Step 3: Mix Wet Ingredients
In another bowl, mix together the vegetable oil, buttermilk, eggs, red food coloring, vanilla extract, and white vinegar. This is where the vibrant magic begins—watch your mixture transform into a luscious red blend!
Step 4: Combine Wet and Dry Mixtures
Gradually add the wet mixture to the dry ingredients, mixing until just combined. Be gentle; overmixing can lead to a dense cake, and we want that traditionally soft texture!
Step 5: Prepare for Baking
Divide the batter evenly between the prepared pans. You’ll want to feel that anticipation as you see your beautiful red concoction ready for the oven.
Step 6: Bake to Perfection
Bake for 25-30 minutes, or until a toothpick inserted in the center comes out clean. The smell wafting through your kitchen will be heavenly, drawing everyone near.
Step 7: Cool the Cakes
Let the cakes cool in the pans for 10 minutes before transferring them to a wire rack to cool completely. It’s important to let them cool fully before frosting to avoid a melty mess!
Step 8: Frost with Cream Cheese
Once the cakes are cool, generously frost them with your favorite cream cheese frosting. This is the final touch that ties everything together with its creamy warmth.
Serving Suggestions & Pairings
Serve this delightful red velvet cake with a side of fresh berries or a scoop of vanilla ice cream for an extra touch of elegance. It pairs beautifully with a rich cup of coffee or a glass of chilled milk, making for a delightful dessert experience.
Storage & Leftovers Guide
Store leftover cake in an airtight container in the refrigerator for up to 5 days. To maintain freshness, you can also freeze slices wrapped in plastic wrap and aluminum foil for up to 2 months.
Kitchen Wisdom & Success Tips
- Room temperature ingredients are key for a perfectly blended batter, so take out your eggs and buttermilk ahead of time.
- For perfect frosting, make sure your cream cheese and butter are at room temperature to achieve that smooth, spreadable texture.
- If you don’t have buttermilk, you can easily make your own by mixing 1 cup of milk with 1 tablespoon of vinegar or lemon juice and letting it sit for 5 minutes.
Flavor Variations & Adaptations
Looking to mix things up? Consider experimenting with chocolate chips, or adding a hint of almond extract instead of vanilla. You can also create a layer of chocolate ganache between the cake layers for an added chocolatey punch.
Reader Questions & Solutions
-
How can I ensure my cake rises evenly?
Make sure to use room temperature ingredients and mix only until just combined. -
What if I can’t find red food coloring?
You can substitute with beet juice for a natural alternative, but bear in mind the color may not be as vibrant. -
Can I make this cake gluten-free?
Yes, simply substitute the all-purpose flour with a gluten-free baking blend. -
How do I prevent the cake from sticking to the pans?
Besides greasing and flouring the pans, you can also use parchment paper to line the bottom of the pans for an extra precaution. -
What should I do if my cake sinks in the middle?
This can happen from overmixing or adding too much leavening agent, so pay close attention to your mixing and measuring!
Wrapping Up
Baking a red velvet cake is not just about the destination; it’s about the journey. It’s about creating memories with every layer and every slice, about the laughter and joy shared around the table. Whether you’re celebrating a special occasion or simply indulging a sweet craving, this cake is sure to bring smiles and satisfaction. So gather your ingredients, put on your favorite apron, and let’s bring some color to your kitchen!