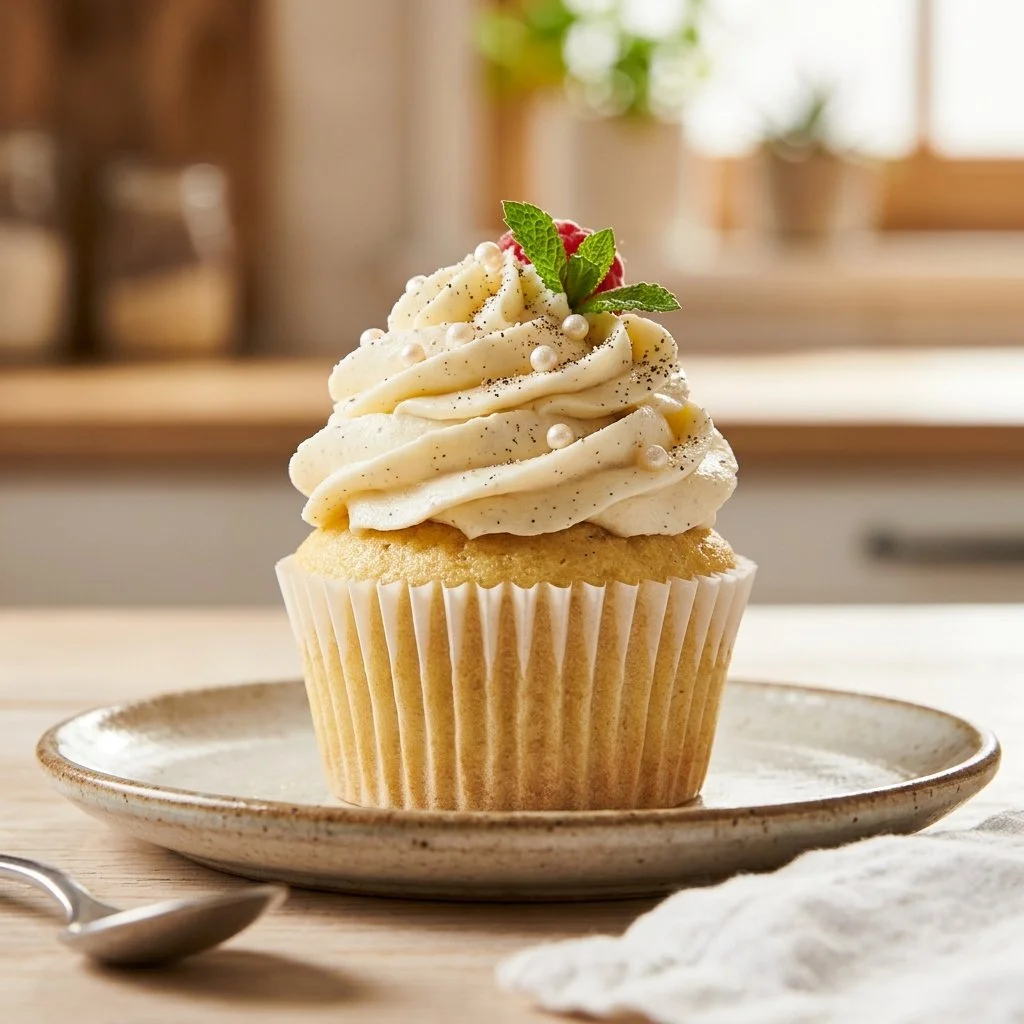
There’s something undeniably magical about the smell of freshly baked vanilla cupcakes wafting through your kitchen. The mixture of sweet, buttery, and nutty aromas creates an atmosphere of warmth and comfort, reminiscent of childhood baking sessions with my grandparent. As a child, I often watched with wide-eyed wonder as they meticulously creamed butter and sugar, transforming simple ingredients into sweet morsels of joy. Today, as I whisk together the same buttery base and fragrant vanilla, I’m transported back to those simpler times. Creating vanilla cupcakes is not just an act of baking; it’s a way to cherish memories and build new ones, one delightful bite at a time.
Recipe Timing
- Prep Duration: 15 minutes
- Active Cooking: 20 minutes
- Total Duration: 35 minutes
- Portion Size: 12 cupcakes
- Complexity: Simple
Nutritional Recipe
- Calories per portion: Approximately 180 calories
- Protein: 2.5 grams
- Carbs: 27 grams
- Fats: 7 grams
- Fiber: 0.5 grams
- Sugars: 14 grams
- Sodium: 150 mg
Why You’ll Love This Vanilla Cupcakes
These vanilla cupcakes are more than just sweet treats. The fluffy texture and rich vanilla flavor create a perfect base for any celebration, from birthday parties to casual brunches. Their light sweetness pairs beautifully with various frostings, sprinkles, or even a simple dusting of powdered sugar. Plus, they are a blank canvas for your creativity—decorate them with colorful toppings, or serve them plain for a comforting snack.
The Complete Cooking Journey
Embarking on this baking adventure is like a dance—a joyful rhythm of mixing, pouring, and baking. You’ll start with the comforting act of creaming butter and sugar, watching as they come together in a fluffy cloud of sweetness before incorporating eggs and vanilla. The transformation from dry ingredients to a smooth batter is satisfying, promising delightful cupcakes that will lure everyone into your kitchen. Finally, as they bake and rise in the oven, anticipation builds, leading to the moment of indulgence when you take that first glorious bite.
Ingredients:
- 1 1/2 cups all-purpose flour
- 1 cup granulated sugar
- 1/2 cup unsalted butter, softened
- 2 large eggs
- 2 tsp vanilla extract
- 1/2 cup milk
- 1 3/4 tsp baking powder
- 1/2 tsp salt
Method:
Step 1: Prepping the Oven and Liners
Preheat the oven to 350°F (175°C) and line a cupcake pan with liners. This step sets the stage for the magic to happen, ensuring our cupcakes will have just the right environment to rise.
Step 2: Creaming Butter and Sugar
In a bowl, cream together the softened butter and sugar until light and fluffy. This process incorporates air into the mixture, giving your cupcakes that delightful lightness and sweetness.
Step 3: Adding Eggs and Vanilla
Add the eggs one at a time, mixing well after each addition, then stir in the vanilla. This not only enriches the flavor but also helps to create a smooth batter, perfect for fluffy cupcakes.
Step 4: Combining Dry Ingredients
In a separate bowl, combine the flour, baking powder, and salt. Gradually add to the butter mixture, alternating with the milk. Mix until just combined. Be careful not to overmix; we want our cupcakes tender and light!
Step 5: Filling the Cupcake Liners
Fill the cupcake liners about two-thirds full with batter, allowing enough room for the cupcakes to rise beautifully in the oven.
Step 6: Baking the Cupcakes
Bake for 18-20 minutes or until a toothpick inserted comes out clean. The aroma will be irresistible, and you’ll find it hard to wait for them to cool!
Step 7: Cooling Before Frosting
Allow to cool before frosting. This crucial step prevents your frosting from melting and creates a beautiful finish for your mini cakes.
Serving Suggestions & Pairings
Serve these gorgeous vanilla cupcakes at your next gathering with a dollop of your favorite frosting, or keep it simple with a sprinkle of powdered sugar and fresh fruit on top. They’re perfect for birthday parties, casual coffee breaks, or just as a comforting treat at the end of a long day.
Storage & Leftovers Guide
Store leftover cupcakes in an airtight container at room temperature for up to 3 days. If you want them to last longer, you can refrigerate them for up to a week, or freeze them for up to three months. Just make sure to frost them when you’re ready to enjoy!
Kitchen Wisdom & Success Tips
- Always use room temperature ingredients for a smoother batter.
- Avoid overmixing to ensure light and airy cupcakes.
- Check your cupcakes a minute or two before the suggested baking time to avoid overbaking.
- Use a toothpick to test for doneness; if it comes out clean, they’re ready!
Flavor Variations & Adaptations
Feel free to add chocolate chips, fresh berries, or citrus zest to the batter for an exciting twist! You can also swap out vanilla extract for other flavored extracts like almond or lemon for different taste profiles.
Reader Questions & Solutions
-
Why are my cupcakes dense?
Dense cupcakes can result from overmixing or not measuring flour correctly. Be gentle when mixing and use the spoon-and-level method for measuring flour. -
Can I use cake flour instead of all-purpose flour?
Yes, using cake flour will yield a lighter cupcake! Just replace the all-purpose flour with cake flour in the same quantity. -
What can I use instead of milk?
You can substitute milk with almond milk, oat milk, or even yogurt for added moisture and flavor. -
How do I keep my cupcakes from sticking?
Using cupcake liners is a great way to prevent sticking. Additionally, greasing the pan can help ensure clean removals. -
Can I make these in advance?
Absolutely! You can prepare the batter ahead of time and refrigerate it for up to 24 hours. Then just bake when you’re ready!
Wrapping Up
Baking these vanilla cupcakes is not just about creating a sweet treat; it’s an experience filled with love, nostalgia, and creativity. Whether you’re sharing them at a gathering or indulging solo, each bite is a reminder of how simple ingredients can come together to create something truly delightful. So, gather your ingredients, embrace the process, and let the sweet aroma of vanilla cupcakes fill your kitchen—your taste buds will thank you!