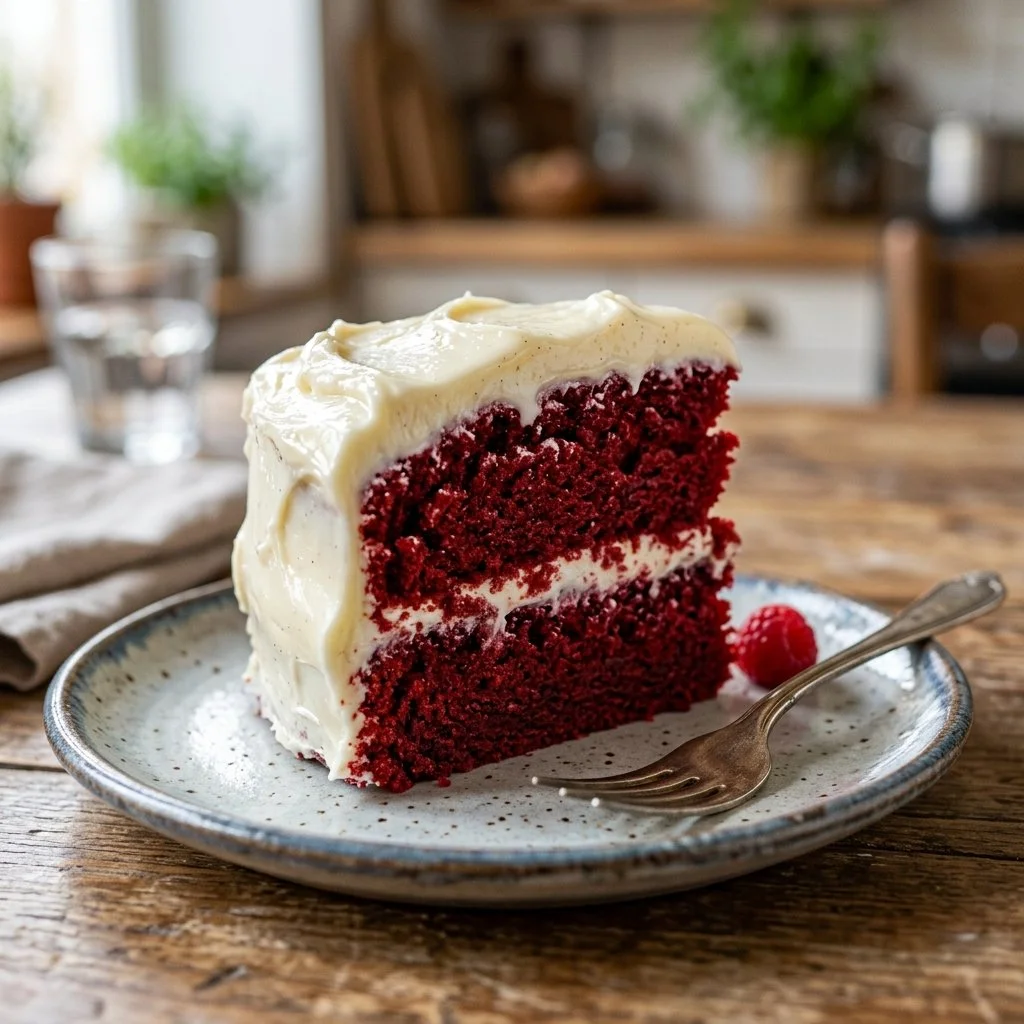
There’s something undeniably nostalgic about a beautifully frosted Red Velvet Cake sitting center stage at a gathering—a vibrant red hue that instantly brightens up any celebration. As a child, I remember my mother baking this cake for birthdays, anniversaries, and even the occasional Tuesday, simply because she felt like it. The blend of subtly cocoa-flavored cake with that luscious cream cheese frosting was always a showstopper, and it taught me early on that baking isn’t just about following a recipe; it’s about crafting memories.
Baking this Red Velvet Cake at home takes me back to those warm afternoons spent in my mom’s kitchen, engulfed in the sweet scent of vanilla and sugar. It’s more than a dish; it’s the love we poured into it, and the joy it brought us. Today, I want to share this cherished recipe with you so you can create your own moments of joy and make something that stands out not just for its color but for its rich history and flavor.
Recipe Timing
- Prep Duration: 15 minutes
- Active Cooking: 30 minutes
- Total Duration: 45 minutes
- Portion Size: Serves 12
- Complexity: Simple
Nutritional Recipe
- Calories per portion: Approximately 350
- Protein: 4g
- Carbs: 53g
- Fats: 15g
- Fiber: 1g
- Sugars: 29g
- Sodium: 340mg
Why You’ll Love This Red Velvet Cake
This Red Velvet Cake is a visual masterpiece, and the first bite reveals an explosion of flavors that harmoniously come together. The cake is moist, tender, and carries just a hint of cocoa, which complements the tangy sweetness of the cream cheese frosting perfectly. Plus, it’s versatile enough for any occasion—birthdays, anniversaries, or simply to indulge on a cozy weekend. Its bright color will make any dessert table pop, and trust me, the taste will keep everyone coming back for seconds.
The Complete Cooking Journey
Baking a Red Velvet Cake is an experience that invites you to involve your senses. With each step, you’ll feel the smoothness of the batter, observe the vivid swirl of red coloring, and finally savor the delightful fusion of flavors. Let’s embark on this journey together!
Ingredients:
- 2 1/2 cups all-purpose flour
- 1 1/2 cups granulated sugar
- 1 teaspoon baking soda
- 1 teaspoon salt
- 1 teaspoon cocoa powder
- 1 cup vegetable oil
- 1 cup buttermilk, room temperature
- 2 large eggs, room temperature
- 2 tablespoons red food coloring
- 1 teaspoon vanilla extract
- 1 teaspoon white vinegar
Method:
Step 1: Preheat the Oven
Preheat your oven to 350°F (175°C) to get it nice and warm for your cake.
Step 2: Prepare the Cake Pans
Grease and flour two 9-inch round cake pans. This will ensure your beautiful cakes release perfectly without sticking.
Step 3: Combine the Dry Ingredients
In a large bowl, whisk together the flour, sugar, baking soda, salt, and cocoa powder. Mixing these dry ingredients thoroughly helps evenly distribute the leavening agents and cocoa.
Step 4: Mix the Wet Ingredients
In another bowl, mix together the vegetable oil, buttermilk, eggs, red food coloring, vanilla extract, and white vinegar until smooth. The food coloring will turn your mixture a lovely shade of red.
Step 5: Combine Wet and Dry Ingredients
Gradually add the wet ingredients to the dry ingredients, mixing until just combined. Be careful not to overmix; we want to keep that tender texture!
Step 6: Divide and Pour the Batter
Pour the batter evenly between the prepared cake pans, ensuring they’re of equal weight for even baking.
Step 7: Bake the Cakes
Bake for 25-30 minutes or until a toothpick inserted in the center comes out clean. The scent of baking cake will fill your kitchen and bring smiles around.
Step 8: Cool the Cakes
Let the cakes cool in the pans for 10 minutes before transferring them to wire racks. This cooling period is crucial for cutting cleanly when you frost.
Step 9: Frost with Cream Cheese Frosting
Once the cakes are completely cooled, decorate them generously with cream cheese frosting for the finishing touch.
Serving Suggestions & Pairings
Serve slices of this luscious cake alongside a scoop of vanilla ice cream, or pair it with a steaming cup of coffee or tea. For a little extra flair, consider fresh berries or a drizzle of chocolate syrup on the side for an indulgent experience.
Storage & Leftovers Guide
Store leftover cake wrapped in plastic wrap in the refrigerator for up to 4 days to keep it fresh and moist. You can also freeze it—just be sure to wrap it well in foil or airtight containers for up to 3 months.
Kitchen Wisdom & Success Tips
- Room Temperature Ingredients: Make sure your eggs and buttermilk are at room temperature for better emulsification.
- Don’t Overmix: Gently combine wet and dry ingredients for a lighter, fluffier cake.
- Frosting Tips: If your cream cheese is too soft, chill the frosting slightly before spreading to ensure it holds its shape.
Flavor Variations & Adaptations
Feel free to add a twist to your Red Velvet Cake by incorporating a hint of almond extract or orange zest. You can also fold in chocolate chips for an extra chocolatey bite, or switch up the frosting to a whipped cream or chocolate buttercream for a different flavor profile altogether.
Reader Questions & Solutions
-
Why is my Red Velvet Cake not red enough?
- The amount of food coloring can vary by brand. Don’t be afraid to add a little more until you achieve that vibrant red!
-
Can I make this cake dairy-free?
- Absolutely! Substitute buttermilk with almond or coconut milk mixed with a splash of lemon juice and use dairy-free cream cheese for frosting.
-
What can I use if I don’t have vegetable oil?
- You can easily swap in melted coconut oil or canola oil for a similar outcome.
-
How can I make sure my cake rises evenly?
- Ensure your oven is fully preheated and consider rotating the pans halfway through baking for even heat distribution.
-
What’s the best way to stack and frost my cake?
- Trim the tops of the cooled cakes for even stacking, and use a crumb coat before adding your final layer of frosting to avoid bits from getting mixed in.
Wrapping Up
This Red Velvet Cake isn’t just a treat for the eyes; it’s a heartfelt recipe that promises to create warm memories in your kitchen. As you take the time to mix, bake, and frost, you’re also nurturing the relationships that matter most. So gather your ingredients, put on your apron, and let’s bring a touch of nostalgia and a burst of flavor to your next gathering. Happy baking!