
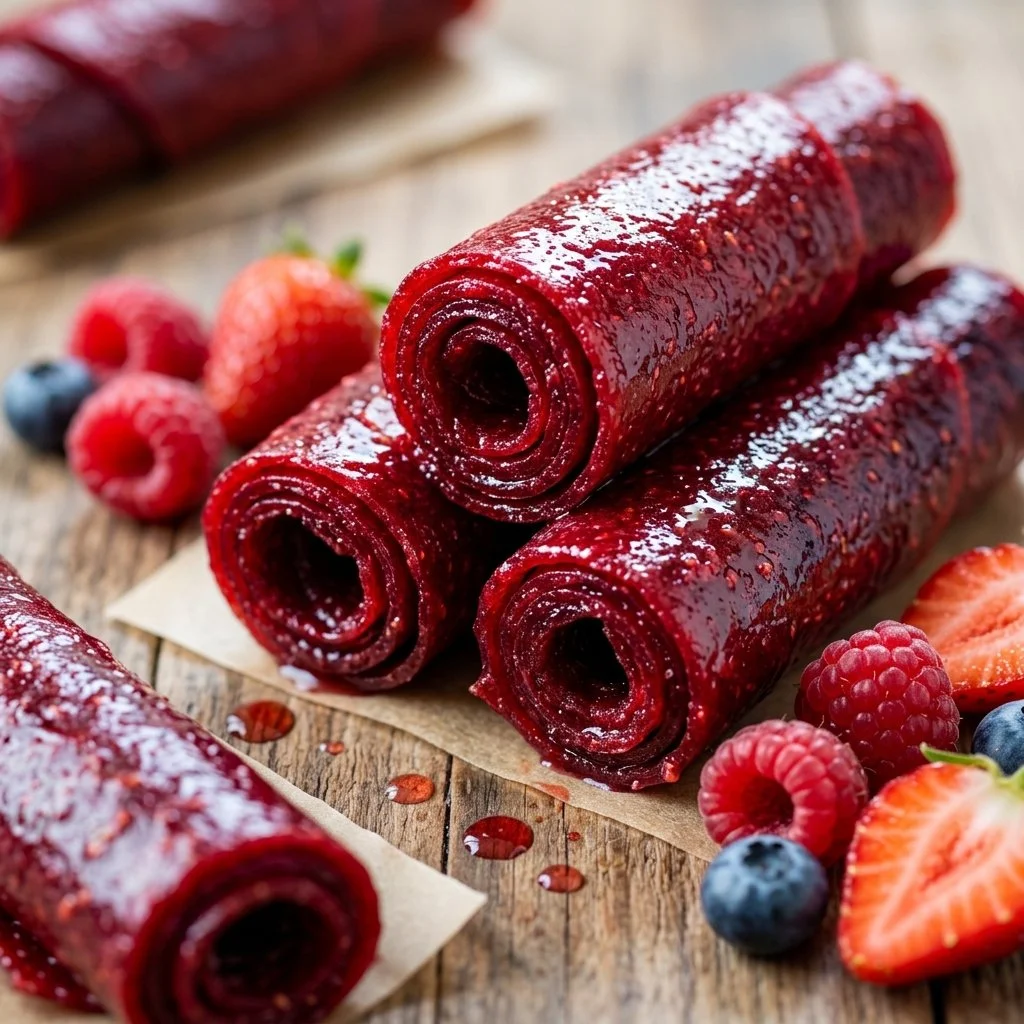
There’s something exceptionally nostalgic about the process of making homemade fruit roll-ups. From the first swirl of pureed fruit in the blender to the intoxicating aroma wafting through my kitchen, each step resonates with warm memories of childhood snack times. I can still see my younger self’s eyes light up at the sight of these colorful, chewy delights. Now, as an adult, I find joy in crafting these fruity gems for my own family, bringing a bit of that whimsy back into our lives.
## Recipe Timing
- Prep Duration: 15 minutes
- Active Cooking: 6-8 hours (drying time)
- Total Duration: Approximately 6-8 hours 15 minutes
- Portion Size: Approximately 10 roll-ups
- Complexity: Simple
## Nutritional Recipe
- Calories per portion: 50
- Protein: 0.5 grams
- Carbs: 13 grams
- Fats: 0.2 grams
- Fiber: 1 gram
- Sugars: 10 grams
- Sodium: 1 mg
## Why You’ll Love This Homemade Fruit Roll Ups
Homemade fruit roll-ups are not just snacks; they are the embodiment of health, simplicity, and fun, all rolled into one. No artificial colors, no preservatives—just pure, delicious fruit. You can customize them to your preferences, swap flavors based on seasonal fruits, or even adjust the sweetness to match your family’s taste. Plus, they’re a hit with kids and adults alike! Whether you want a quick snack on a busy day, a lunchbox treat for your children, or a healthy dessert alternative, these fruit rolls offer something for everyone.
## The Complete Cooking Journey
Making fruit roll-ups is more than just following steps; it’s an opportunity to unleash your creativity! You get to select your favorite fruits, experiment with combinations, and even involve your kids in the process. They’ll love pouring the pureed mixture onto the baking sheet or cutting the cooled rolls into their desired size. The joy is in the little moments spent together in the kitchen, creating something delicious and memorable.
## Ingredients:
- 2 cups of pureed fruit (such as strawberries, apples, or mangoes)
- 1 tablespoon of honey or sugar (optional)
- 1 tablespoon of lemon juice
## Method:
### Step 1: Preheat the Oven
Preheat your oven to 170°F (75°C) and line a baking sheet with parchment paper. This step is crucial as it prepares the perfect environment for drying your fruit puree.
### Step 2: Puree the Fruit
In a blender, puree the fruit until smooth. Opt for your favorite fruits like strawberries, apples, or mangoes to create your desired flavor.
### Step 3: Sweeten and Add Zest
Add honey or sugar and lemon juice if desired, and blend again. The lemon juice not only adds brightness but also helps to preserve the vibrant color of your fruit roll-ups.
### Step 4: Spread the Puree
Pour the fruit puree onto the prepared baking sheet and spread it out evenly into a thin layer. The thinner the layer, the quicker it will dry!
### Step 5: Dry the Fruit
Place the sheet in the oven and let it dry for about 6-8 hours, or until it is no longer sticky. Depending on your oven, check occasionally to ensure nothing is over-drying.
### Step 6: Cool and Cut
Once dried, let it cool completely before cutting it into strips. This waiting period allows it to firm up for easy handling.
### Step 7: Roll and Store
Roll them up and store in an airtight container. These delightful treats can last for up to a month, depending on storage conditions.
## Serving Suggestions & Pairings
Enjoy your homemade fruit roll-ups on their own, paired with some yogurt for a delightful snack, or even as a topping for breakfast bowls. They also make a fantastic addition to picnic baskets or school lunches, providing a burst of natural sweetness without any guilt!
## Storage & Leftovers Guide
Store the rolled fruit in an airtight container at room temperature for up to 1 month. For longer storage, you can freeze them. Just make sure to separate individual rolls with parchment paper to prevent sticking.
## Kitchen Wisdom & Success Tips
- Choose ripe, fresh fruits for the sweetest and most flavorful roll-ups.
- If using fruits that oxidize (like apples), consider adding an extra bit of lemon juice.
- Keep an eye on the drying process; different ovens can vary in drying time.
- Test a small piece before cutting to see if it has reached the right consistency.
## Flavor Variations & Adaptations
- Mix and match fruits like mango-strawberry, apple-cinnamon, or even add spices like ginger for a zing.
- Use unsweetened applesauce as a base for the puree if you want a lower-calorie option or to reduce sugar intake.
## Reader Questions & Solutions
-
Can I use frozen fruit?
Yes! Just make sure to thaw and drain excess moisture before pureeing. -
What if I don’t have parchment paper?
You can use a silicone baking mat as an alternative for easy peeling. -
How can I avoid sticking?
Ensure the roll-ups are completely dry before slicing and rolling them. -
Can I make them without sugar?
Absolutely! Choose naturally sweet fruits and omit the sweetener for a healthier option. -
What’s the best way to cut them?
Using kitchen scissors works great for cutting fruit rolls without tearing.
## Wrapping Up
Making homemade fruit roll-ups is not just about the final product; it’s about embracing the joy of cooking and sharing. The simplicity of this recipe allows you to create flavorful snacks bursting with nutrition, all the while making memories that will last a lifetime. So gather your fruits, prep your oven, and enjoy the delightful journey of creating your fruits roll-ups—it’s a sweet adventure worth savoring!