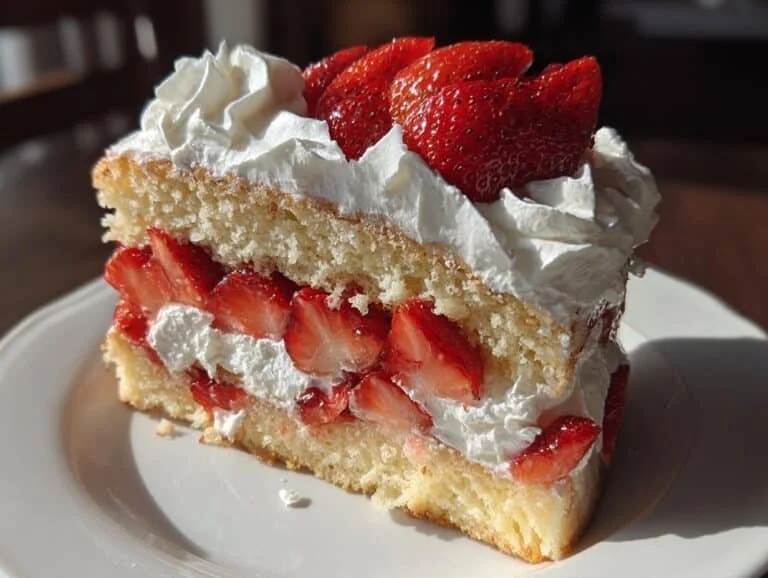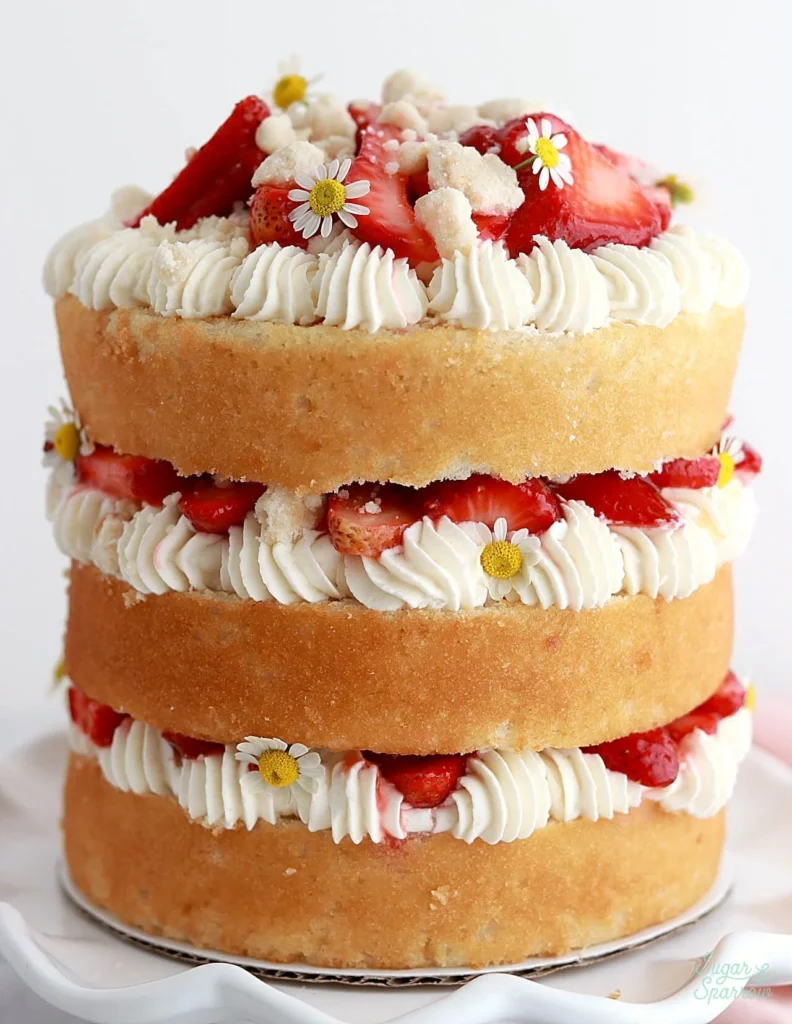
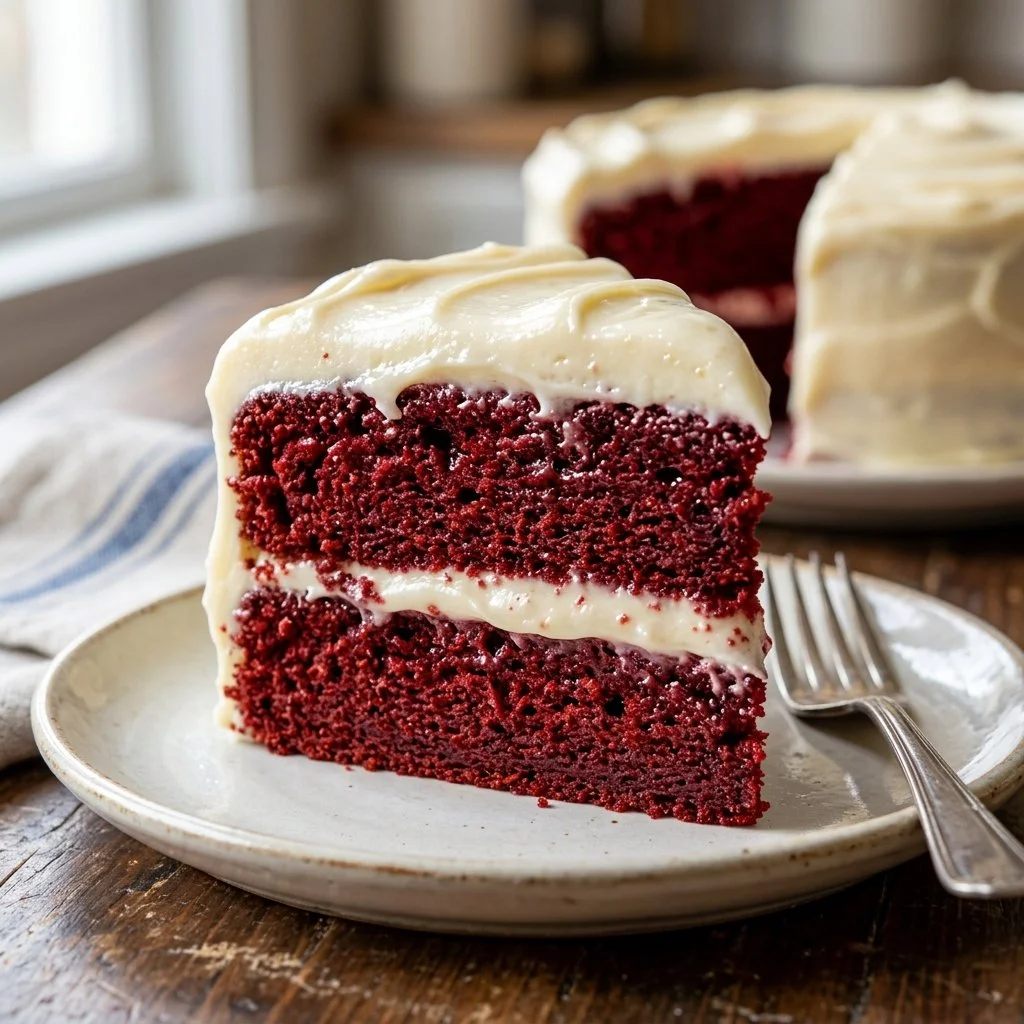
There’s something truly magical about the deep crimson hue of a Red Velvet Cake. Every time I whip up this iconic dessert, I’m transported back to a childhood party where a grand, frosted cake sat eagerly on the table, shimmering like jewels. It was the centerpiece of the celebration, and I can still recall the delightful anticipation of digging into a slice. The whispers of its velvety texture and subtle cocoa flavor never fail to put a smile on my face.
Red Velvet Cake has a reputation that goes beyond its eye-catching color; it’s an experience, a love letter to those sweet moments that we share with family and friends. Today, I’m excited to share my recipe for this tender, sweet treat. Let’s embark on this culinary journey together!
Recipe Timing
- Prep Duration: 20 minutes
- Active Cooking: 30 minutes
- Total Duration: 50 minutes
- Portion Size: Serves 12
- Complexity: Simple
Nutritional Recipe
- Calories per portion: Approximately 350
- Protein: 3g per serving
- Carbs: 50g per serving
- Fats: 16g per serving
- Fiber: 1g per serving
- Sugars: 28g per serving
- Sodium: 380mg per serving
Why You’ll Love This Red Velvet Cake
This Red Velvet Cake is a delightful fusion of chocolate and vanilla, resulting in a tender crumb that melts in your mouth. The rich cream cheese frosting adds an irresistible tang, perfectly complementing the cake’s sweetness. Not only is it a feast for the eyes, but each bite offers a comforting nostalgia that resonates with every cake lover. It’s the kind of dessert that brings people together, making it perfect for birthdays, anniversaries, or any gathering where celebration is in the air.
The Complete Cooking Journey
It all begins with the simple act of gathering ingredients: flour, sugar, vibrant red food coloring, and that secret touch of cocoa powder. As we mix and bake, the kitchen transforms into a delightful haven, filled with the warmth of vanilla and a hint of sweetness. You’ll smile as the cakes rise proudly in the oven, knowing that a beautiful creation is on its way.
Ingredients:
- 2 1/2 cups all-purpose flour
- 1 1/2 cups granulated sugar
- 1 teaspoon baking soda
- 1 teaspoon salt
- 1 teaspoon cocoa powder
- 1 1/2 cups vegetable oil
- 1 cup buttermilk, room temperature
- 2 large eggs, room temperature
- 2 tablespoons red food coloring
- 1 teaspoon vanilla extract
- 1 teaspoon white vinegar
Method:
Step 1: Preheat and Prepare
Preheat the oven to 350°F (175°C). Grease and flour two 9-inch round cake pans, ensuring they’re ready to hold your beautiful batter.
Step 2: Sift the Dry Ingredients
In a large bowl, sift together the flour, sugar, baking soda, salt, and cocoa powder. This allows the ingredients to blend flawlessly, ensuring a smooth batter.
Step 3: Combine the Wet Ingredients
In another bowl, mix the vegetable oil, buttermilk, eggs, red food coloring, vanilla extract, and white vinegar until everything is well combined. The vibrant red starts to reveal itself!
Step 4: Mix It Up
Add the wet ingredients to the dry ingredients, and mix with a spatula or wooden spoon until everything is smooth and well incorporated.
Step 5: Prepare the Cake Pans
Divide the batter evenly between the prepared pans, smoothing the tops to ensure even baking.
Step 6: Bake to Perfection
Bake for 25-30 minutes or until a toothpick inserted into the center comes out clean. You’ll know the sweet aroma is filling the kitchen when you get closer to the end of the baking time.
Step 7: Cool the Cakes
Allow the cakes to cool in the pans for 10 minutes, then carefully transfer to wire racks to cool completely. Patience is key here!
Step 8: Frost and Enjoy
Once cooled, frost your gorgeous cake with cream cheese frosting, allowing the layers to shine.
Serving Suggestions & Pairings
Serve slices of this luscious Red Velvet Cake with a dollop of whipped cream or a scoop of vanilla ice cream. For a delightful accompaniment, consider pairing it with a cup of piping hot coffee or a chilled glass of milk. This cake is also the perfect dessert to share at gatherings, weddings, or themed parties!
Storage & Leftovers Guide
To keep your Red Velvet Cake fresh, store it in an airtight container at room temperature for up to 3 days. For longer storage, wrap it tightly in plastic wrap and refrigerate for up to a week. You can also freeze it for up to 2-3 months if you want to save some for a future occasion!
Kitchen Wisdom & Success Tips
- Make sure all your ingredients are at room temperature for optimal mixing.
- Use good-quality food coloring for the best color payoff.
- Don’t overmix the batter; just mix until combined for a tender texture.
- Always test your cakes with a toothpick before removing from the oven to avoid underbaking.
Flavor Variations & Adaptations
Feel free to experiment! You can add a hint of almond extract to enhance the flavor. For a chocolate twist, increase the cocoa powder to elevate the chocolate notes. Additionally, swapping out half the all-purpose flour for whole wheat flour can add nutritional benefits.
Reader Questions & Solutions
- Why is my cake not red enough? Ensure you’re using enough food coloring, and perhaps try a gel version for a more vibrant hue.
- Can I make this without buttermilk? Yes! You can substitute buttermilk with a mixture of milk and vinegar (one cup of milk with one tablespoon of vinegar).
- How can I make this gluten-free? Use a 1:1 gluten-free flour blend. The baking soda will help provide a light texture.
- What do I do if my cakes are domed on top? Just level them with a serrated knife before frosting to create a flat surface.
- Can I make this cake ahead of time? Absolutely! Bake and cool the layers, then wrap them tightly and store in the freezer until you’re ready to serve.
Wrapping Up
Baking this Red Velvet Cake not only yields a stunning centerpiece but also creates joyful memories filled with laughter and sweetness. I hope you find joy and satisfaction in each step of creating this lovely dessert. So gather your friends and family, slice into a piece, and celebrate all the delightful moments in life!
PrintRed Velvet Cake
A classic Red Velvet Cake that combines a tender crumb with the rich flavor of cocoa and a cream cheese frosting.
- Prep Time: 20 minutes
- Cook Time: 30 minutes
- Total Time: 50 minutes
- Yield: 12 servings 1x
- Category: Dessert
- Method: Baking
- Cuisine: American
- Diet: Vegetarian
Ingredients
- 2 1/2 cups all-purpose flour
- 1 1/2 cups granulated sugar
- 1 teaspoon baking soda
- 1 teaspoon salt
- 1 teaspoon cocoa powder
- 1 1/2 cups vegetable oil
- 1 cup buttermilk, room temperature
- 2 large eggs, room temperature
- 2 tablespoons red food coloring
- 1 teaspoon vanilla extract
- 1 teaspoon white vinegar
Instructions
- Preheat the oven to 350°F (175°C) and prepare two 9-inch round cake pans.
- Sift together the flour, sugar, baking soda, salt, and cocoa powder in a large bowl.
- Mix the vegetable oil, buttermilk, eggs, red food coloring, vanilla extract, and white vinegar in another bowl until well combined.
- Add the wet ingredients to the dry ingredients and mix until smooth.
- Divide the batter evenly between the prepared pans and smooth the tops.
- Bake for 25-30 minutes or until a toothpick comes out clean.
- Cool the cakes in the pans for 10 minutes, then transfer to wire racks to cool completely.
- Frost the cooled cake with cream cheese frosting.
Notes
For a deeper flavor, consider adding almond extract or increasing the cocoa powder. Ensure all ingredients are at room temperature for the best result.
Nutrition
- Serving Size: 1 slice
- Calories: 350
- Sugar: 28g
- Sodium: 380mg
- Fat: 16g
- Saturated Fat: 3g
- Unsaturated Fat: 13g
- Trans Fat: 0g
- Carbohydrates: 50g
- Fiber: 1g
- Protein: 3g
- Cholesterol: 60mg